Module 3 Lab 3 - Test your Application using the Test Client
Overview
In labs 1 and 2 of this module you enriched the Account Process API and deployed it to CloudHub. Additionally you created and registered a new Client Application in Anypoint Exchange in order to obtain a client_id and client_secret to be granted access to our System APIs
Playing the role of a full stack developer let´s also register a new Client Application for the web test client that will be accessing your Account Process API
| You are calling the "Process API" directly but in a real world scenario you would build an "Experience API" in order to serve the Web Client. |
Step 1: Register a Client Application
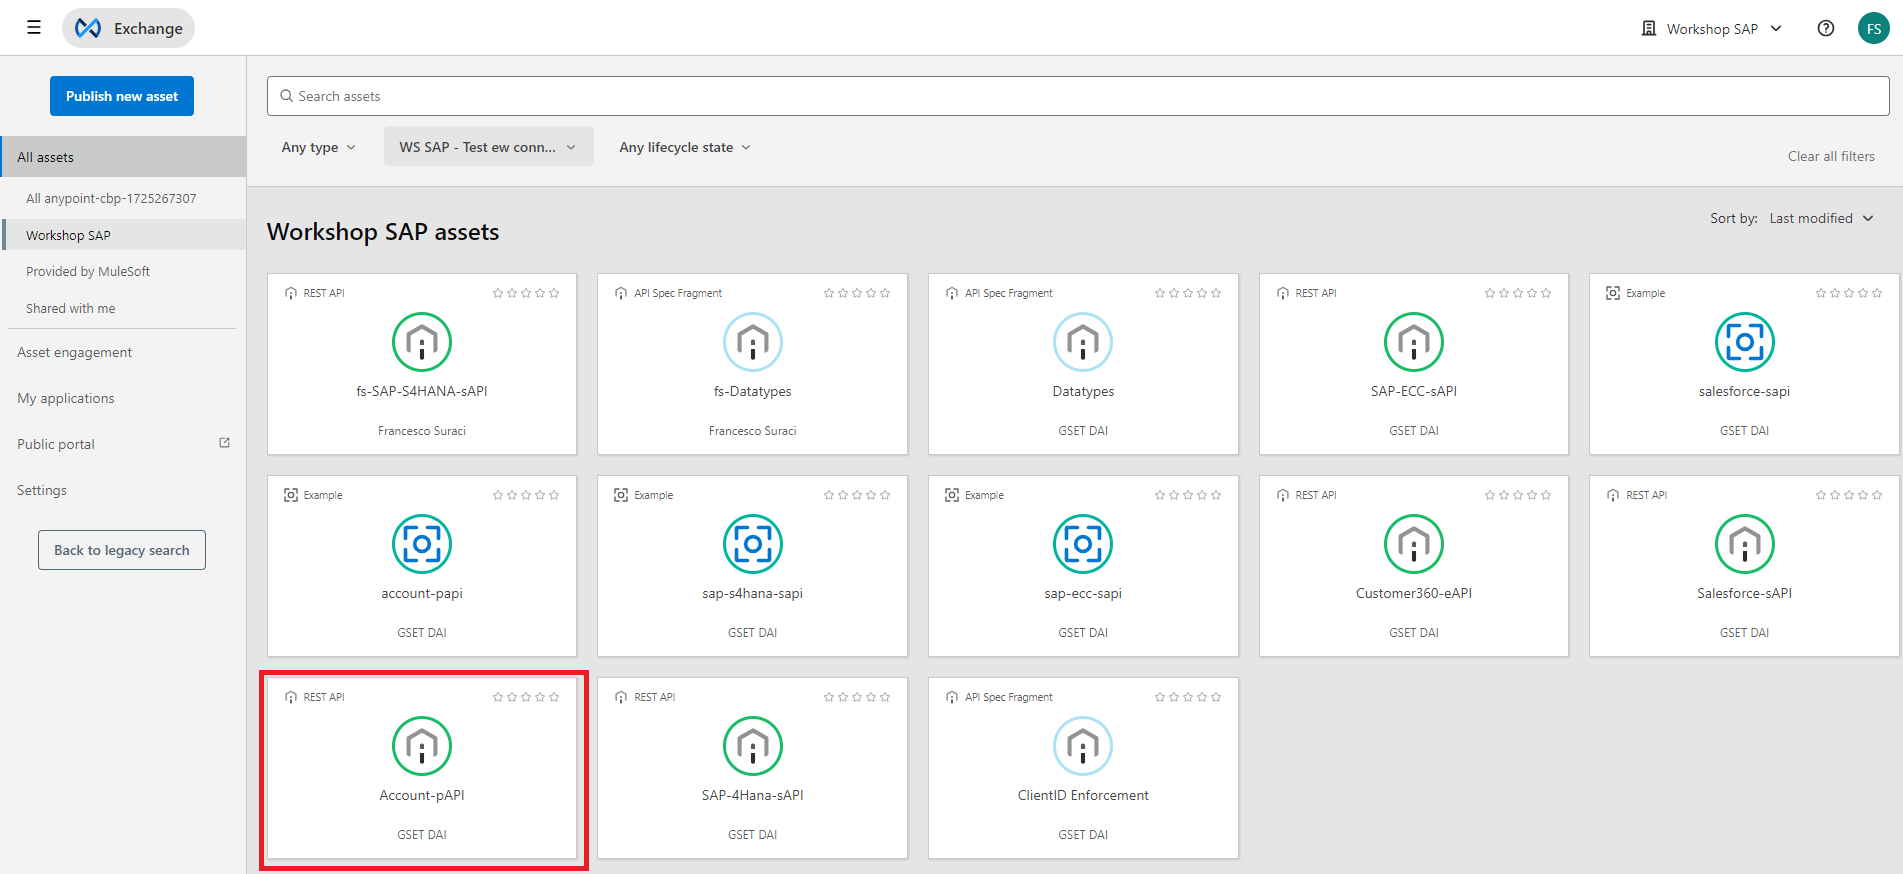
Navigate to Anypoint Exchange and locate the Account-pAPI in Exchange. Change the Any organization filter to the workshop Organization name, and type in Account into the search bar. Select the Account-pAPI asset.
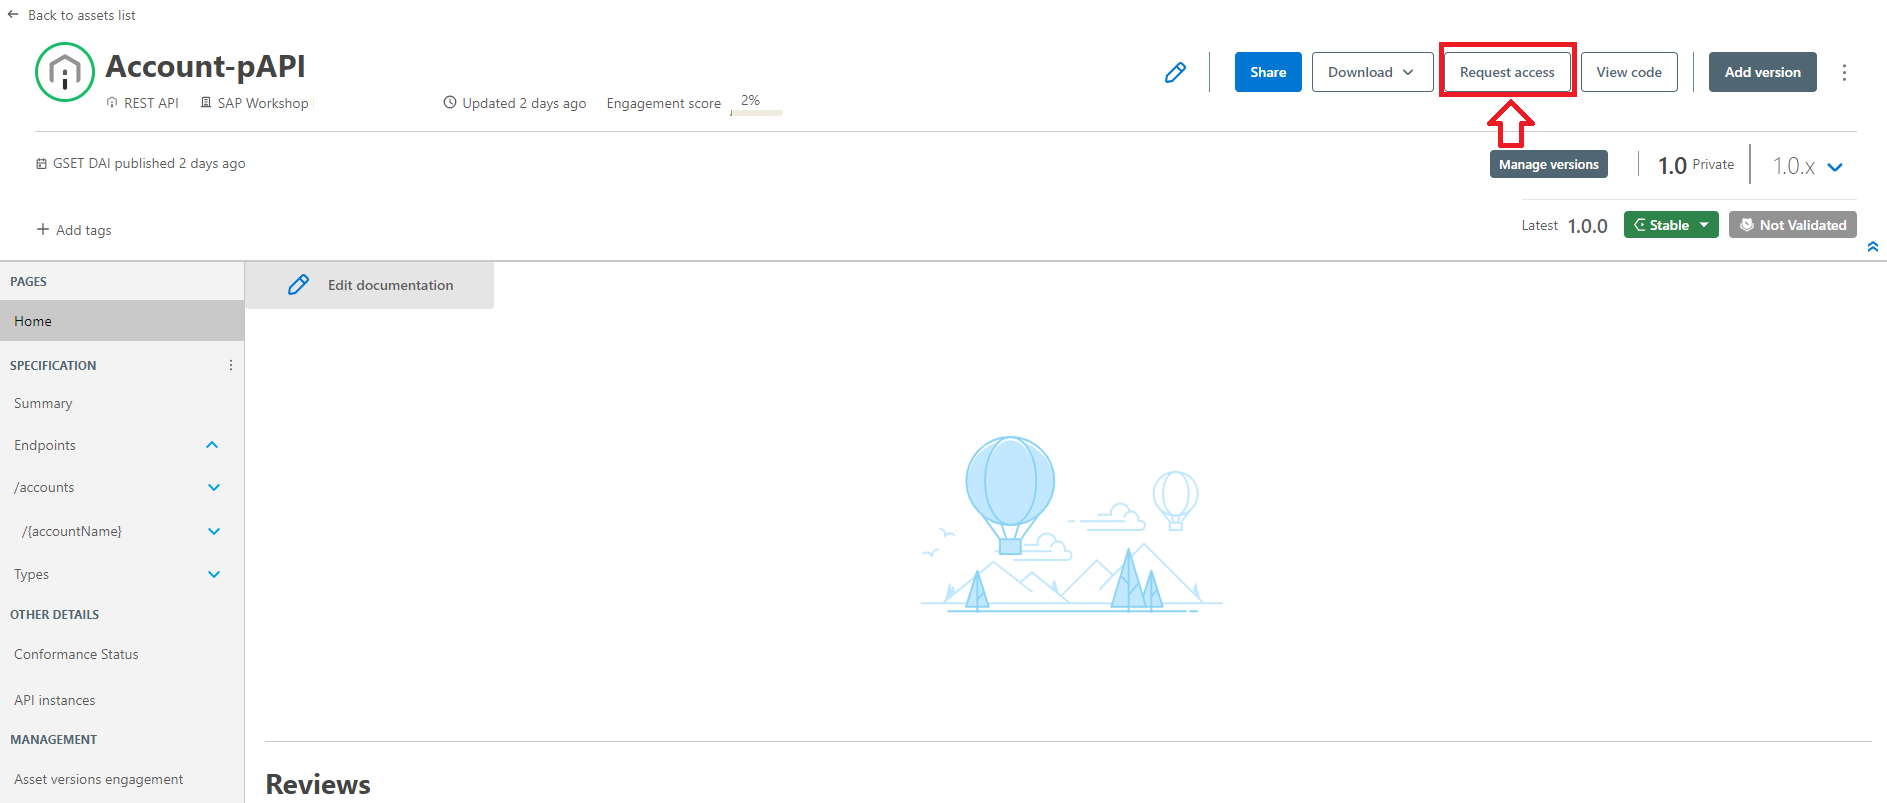
In the Account-pAPI page, click on Request access.
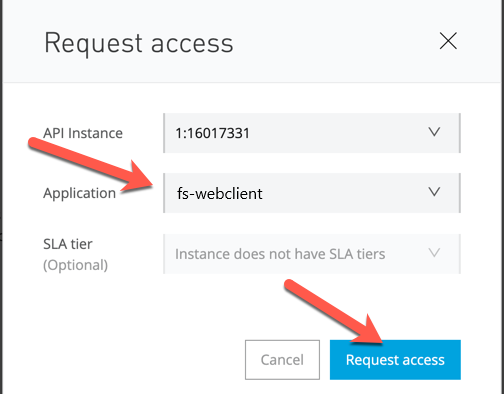
In the Request access window, select the first API instance under the API Instance field. For the Client Application, you can use the application that you have already created before <initials> Application. If you want to use a new set of client_id and client_secret, create a new Client Application following the steps in A, otherwise, after choosing you Client Application, go directly to B.
A - For create a new Client Application, in the Application field, click on Create a new application.

Give your application a name (e.g. <initials> Web Client) and click on Create
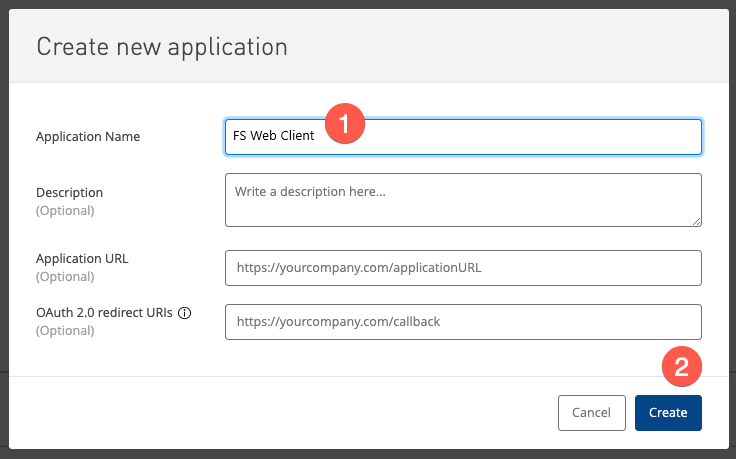
Continue with B steps.
B - Click Request access
Afterwards, you can access your application by navigating to the main Exchange page and click on My applications in the left-hand navigation bar.
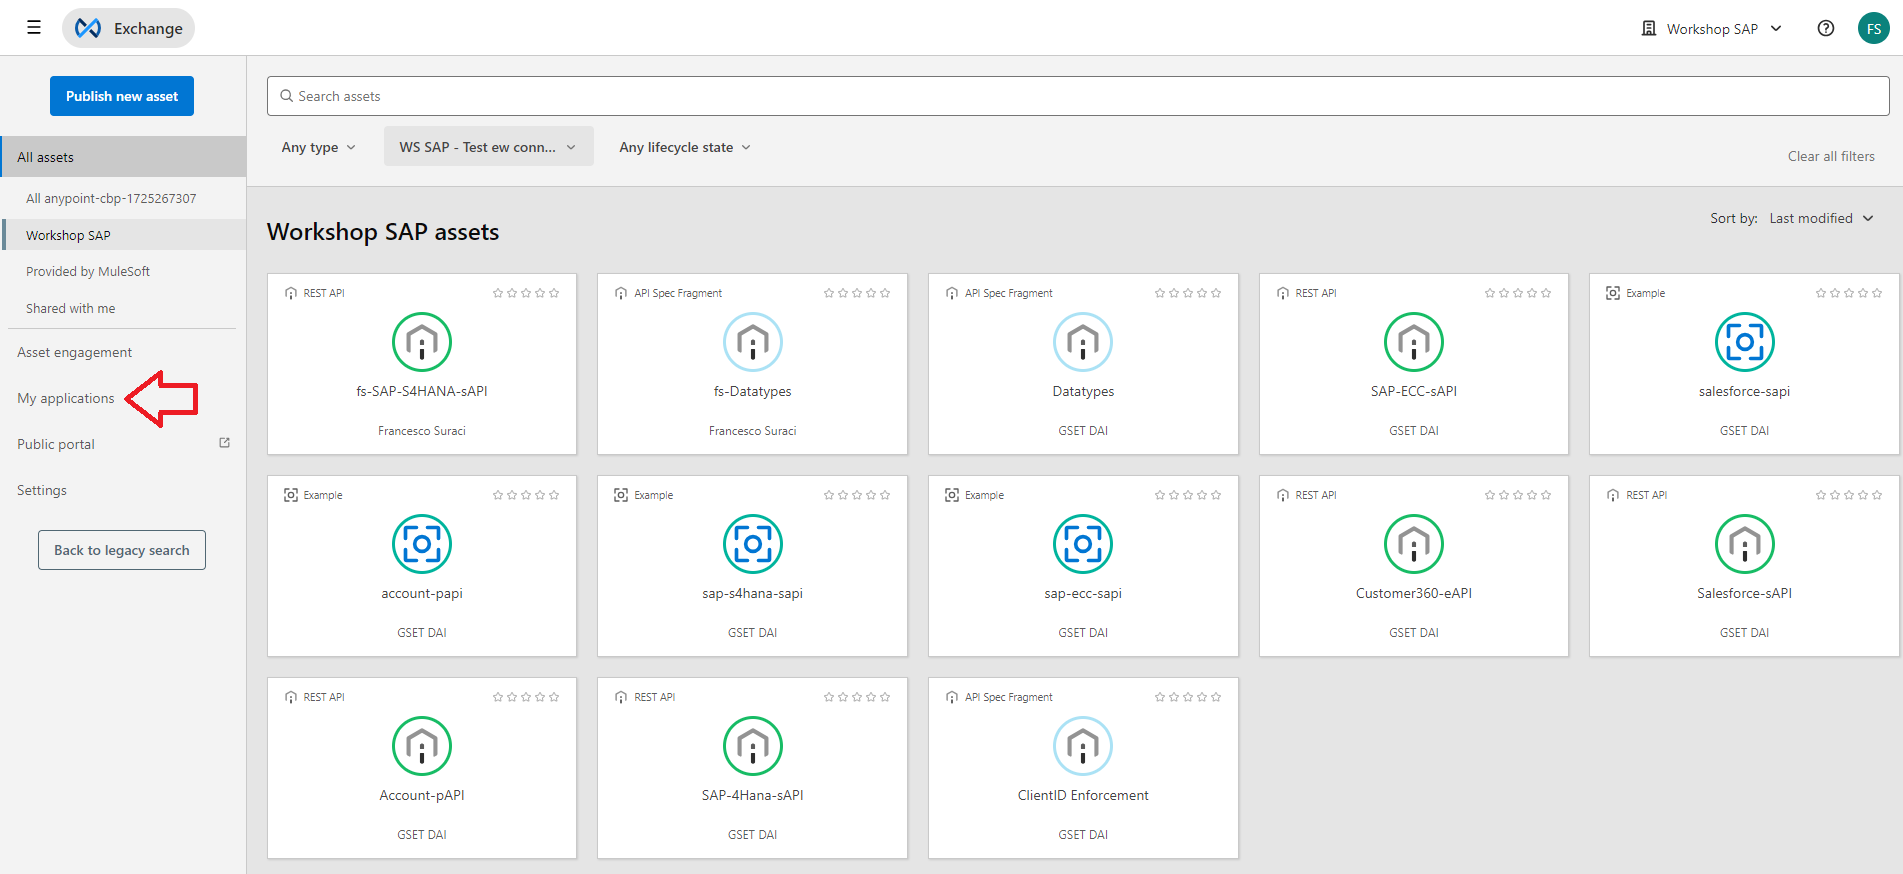
Select the application that you created (e.g. DJ Web Client) and obtain the Client ID & Client Secret
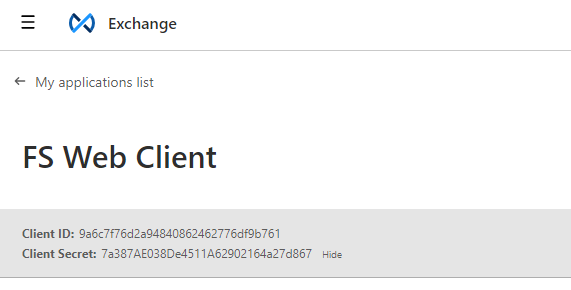
On the left-hand side of the page, you can see to which APIs have been registered against this application and as you start making calls against these APIs, you will begin to see usage statics.
Step 2: Connect the Test Client with your API
Now that we’ve setup a Client Application and generated the Client ID & Client Secret for our web test client, let’s move on and get the hostname.
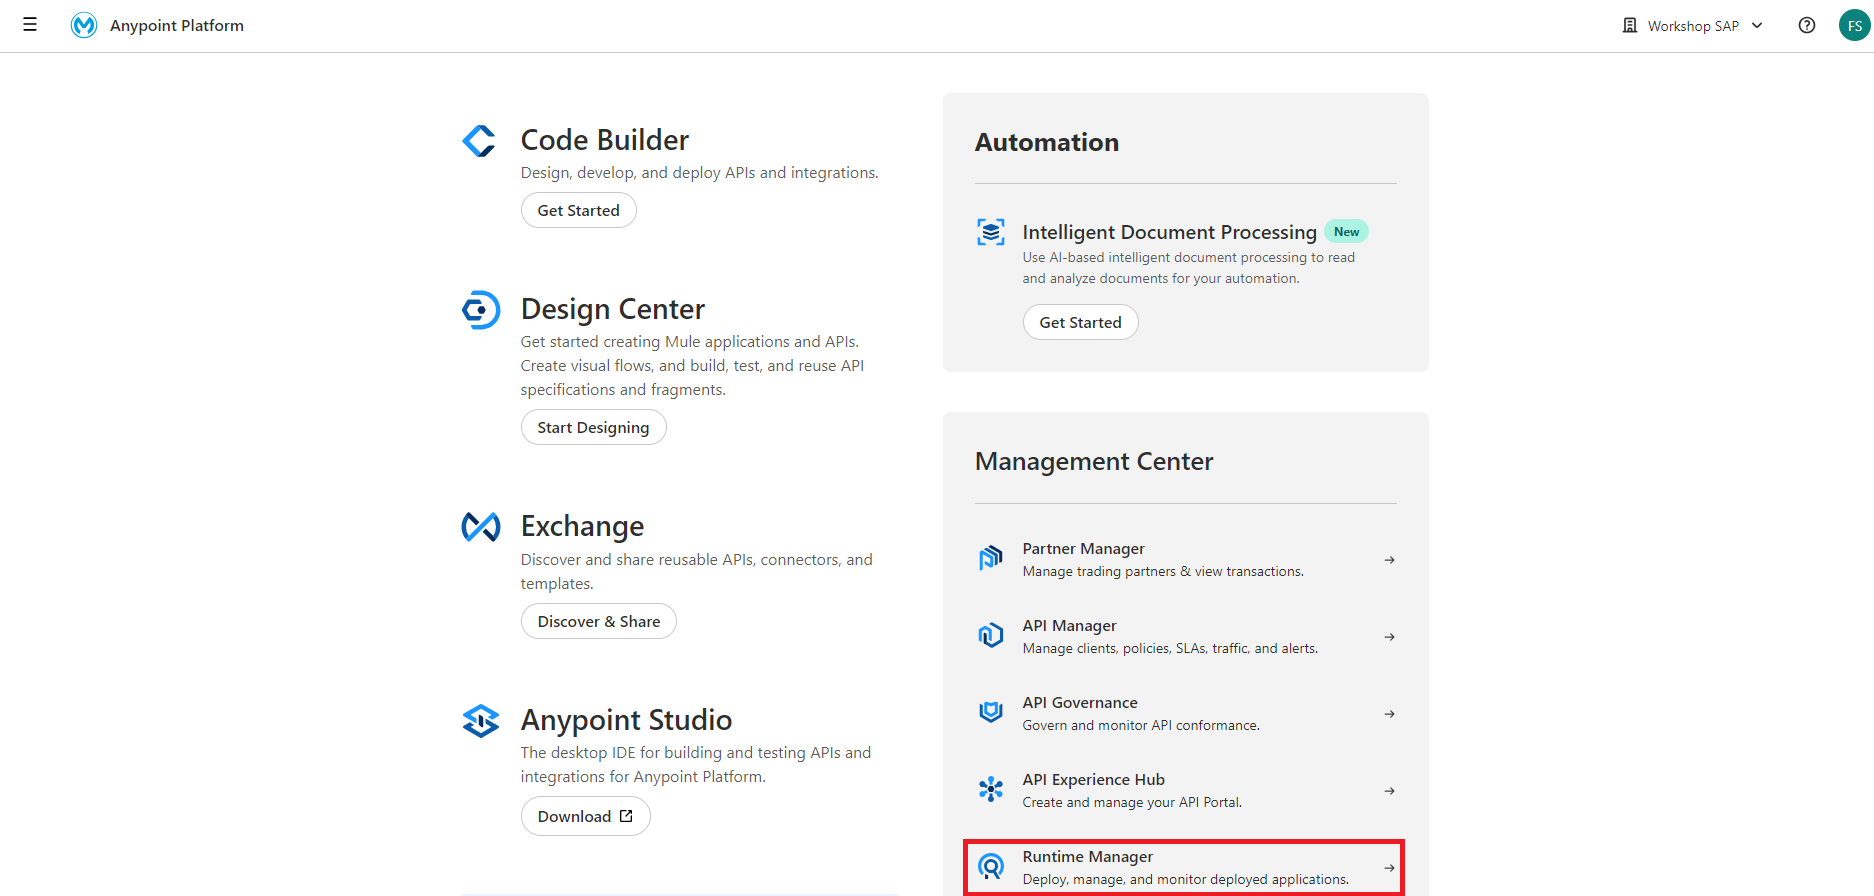
Navigate back to Runtime Manager
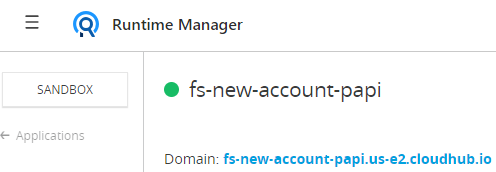
Click and open the Account Process API that you deployed. The Dashboard will show the hostname for the deployed application next to the Domain label.
Open a new tab and navigate to the following address to open the Web Test Client or click here
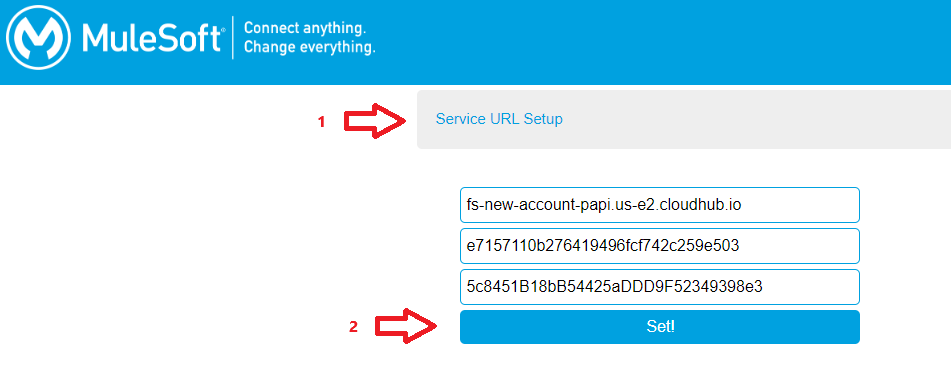
Click Service URL Setup to expand the setup section.
In the Hostname field, copy and paste the hostname from Runtime Manager for the Account Process API into that field. Be sure to remove the http://
Lastly, fill the Client ID and the Client Secret fields with the values generated from Anypoint Exchange for the Client Application you created and then click Set!
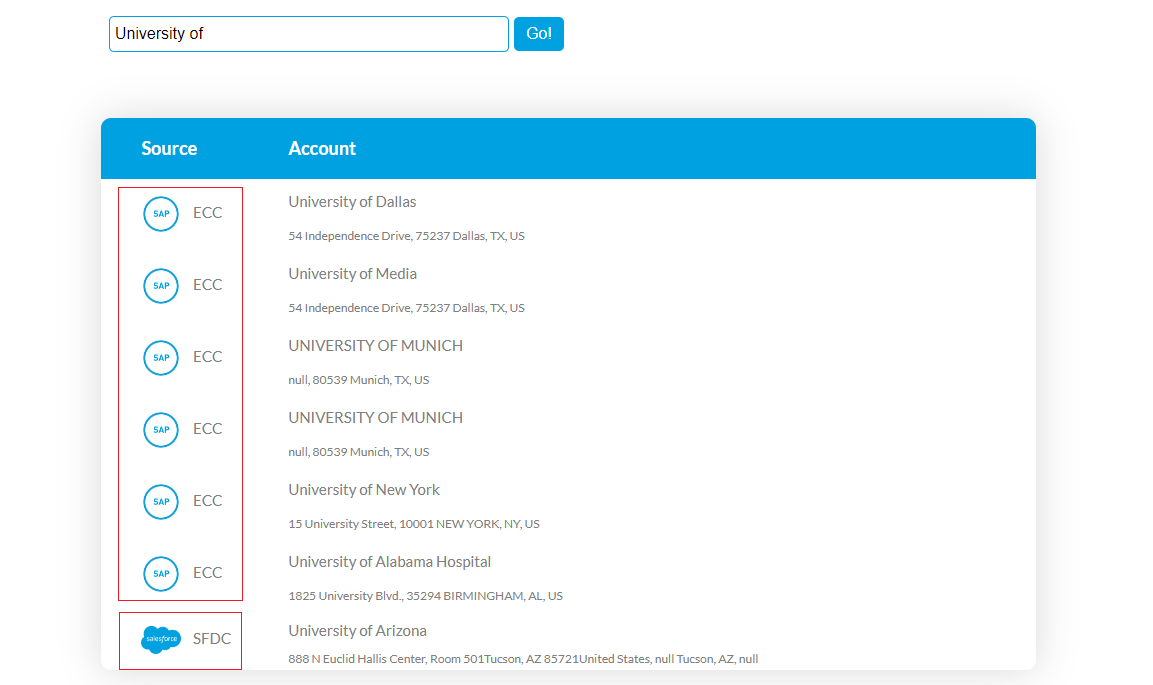
We can now search for any account name by typing the name into the Account Name field. Try some of the following names:
-
"University"
-
"Test"
-
"Mule"
-
In case the connected S/4HANA instance is a demo template, try "Inlandskunde"
If everything was configured correctly, you can see account records from SAP and Salesforce.
| If this doesn’t work, check whether there are multiple Contracts associated with the API. Only one must be left active and the others revoked. Once this is done, refresh the tool page and try again. |